A Lap Around Sebring with Matt Bell
By Jonathan Haswell In InstructorsSebring 12hrs – A Lap Around Sebring with Matt Bell!
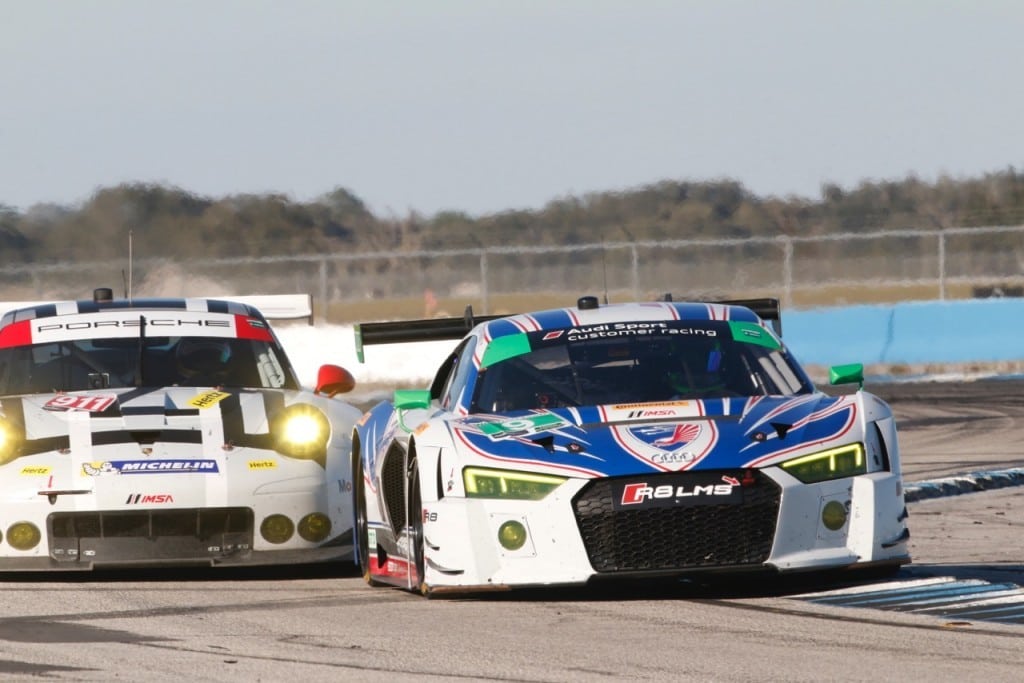
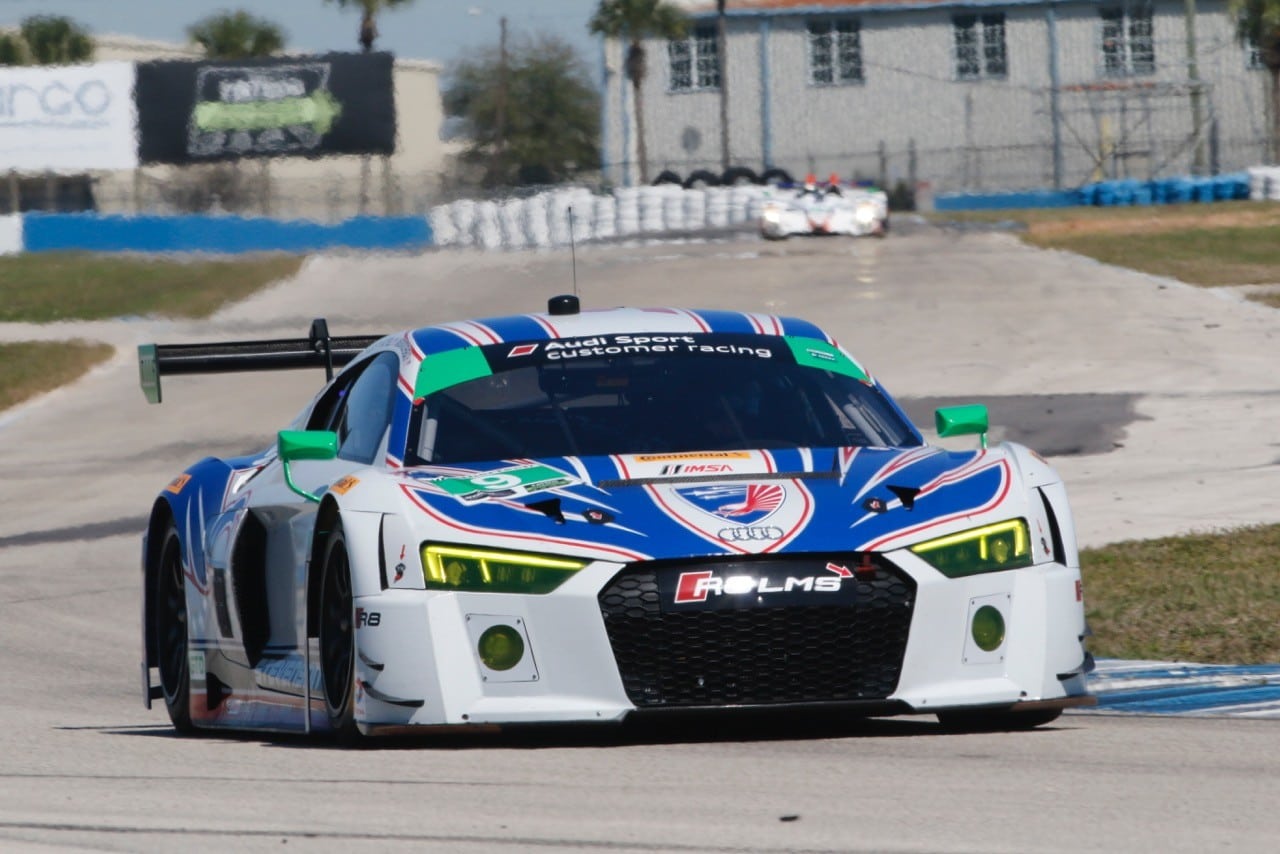
March 19th sees the 64th running of 12 hour of Sebring, one of the top classic sports car endurance races of the year and we asked one of our top instructors, Matt Bell, driver of the No.9 Stevenson Motorsports Audi R8 LMS which runs in the IMSA GTD class car, to take us for a lap around this amazing and storied track.
The first thing anyone will tell you about Sebring is going to have something to do with the atrocious surface quality. The second thing they’ll tell you is the history behind the famous race track. The two facts are linked, however. While the track is slated to finally be repaved this year, the last time serious machinery has worked on the surface of the track was sometime in the 1950s. It was originally a B17 training station through 1946, and by late 1950 it was holding motorsport events. The track has only degraded since then. While the bumps, grooves, filled sections, and temperature-dependent friction sound like blemishes on an international raceway, the track will likely lose some of its charm once repaved. As it was a former air base, it is very flat. It has been joked for years that if one measures all the peaks and valleys of the cracks and bumps around Sebring, it will add up to more elevation change than Laguna Seca. While I’m not sure this is true, it does paint a picture of the sandpaper-wrapped washboard surface that makes up Sebring International Raceway. Between missing fillings from the bumpiest surface in sports car racing, missed reference points due to zero topographical change, ever-changing traction levels, and the constant possibility for a burning school bus someplace in the infield, Sebring can be a challenging, yet very exciting race track.
Setting up cars for Sebring has become very difficult over the years. Without considering the ever-changing surface of the track, sports cars are generating more and more downforce, requiring 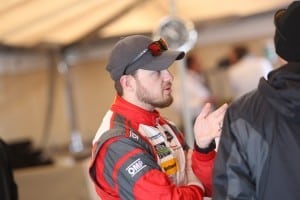 accuracy of ride height only possible with very firm spring rates. Accurately placing the car’s aerodynamic features while heaving over all the bumps and jumps around Sebring can be jarring to car and driver. With jumps in Turn 1 and T17, a softer setup would make it easier to keep tires on the ground, but more often today, the aerodynamic benefit of rolling higher speed through these corners than keeping the car attached to planet Earth.
Turn 1: This is a very high speed corner with few reference points. It is smooth on the way in, but gets very bumpy on exit. Most people gauge their braking and turn-in points based on proximity to the foot bridge overhead. This is not a great reference point since it is so far ahead of the corner. Turn 1 is not a heavy braking corner. Most, if any braking is done merely to take a few mile per hour off and place some weight on the nose. Many drivers will tend to initiate braking while the car is straight, then bend the car in since it can be difficult to slow the car at such high speeds. It is often unwise to place the car to the extreme right against the pit wall. Debris, water, and dirt gets trapped against the wall and can quickly ruin a weekend. Turn-in should be smooth, but requires some command over the front tire. Most cars, if they go off, do so with too much understeer. This push often begins with an improper turn-in, either too late or without enough braking. The goal should be to roll as much speed in to the corner as possible and get close to the inside wall. The fast drivers will often feel like they could brush the wall with their mirror– better said than actually done. As soon as the car is set on this path, someplace between turn-in and apex, the exit should be easier to spot, and eyes should be pointed to the section of track just past track-out. The bumps from apex to exit are very aggressive and can be jarring. A focal point to close to the nose of the car can disorientate the driver which the car crosses these bumps. With a distant focal point, it will be easier for the driver to throttle their car to the exit, accurately rolling to peak acceleration while placing the car against the track-out curb. This curb is not used heavily, most times just half a tire placed on it.
Turn 2, 3, 4: The complex from Turn 2 through the apex of Turn 5 is a gradually slowing section coming off the front straight. It is not often the key to a fast lap time, but has the ability to really hurt one with a few small mistakes. Turn 2 is a mild bend to the right before the braking zone for Turn 3. Because of this, the car has the be pulled, at least partially, back to the left to setup for braking for Turn 3 after exiting Turn 1. The braking zone for Turn 3 is one of the smoothest sections of track, offering good bite to slow the car down. That said, the common mistake to make is almost always going a bit too deep on brakes and turning in too late, making the corner more of a diamond shape than it needs to be. The way to solve this, or at least correct mid-corner, is to spot the apex of Turn 4 as early as possible. This apex also serves as the track-out point for Turn 3, so accurately calculating distance to it is key in timing turn-in and carrying as much speed as possible through the corner complex. The curbing through this section is very aggressive and not often used. Some very tall, soft sports cars can sometimes take advantage of hopping the apex curbs, but for the most part, the straighter line is at a cost to a settled platform and intact bodywork. Turn 4, similar to Turn 2, is just a kink back to the right. It is often temping to roll on heavy throttle before braking for Turn 5, but this often creates a dramatic pitch when braking for Turn 5. The best plan is a smooth roll to throttle from Turn 4, and an early roll out to calm the entry to Turn 5. While this doesn’t feel aggressive, which many drivers translate into speed, the increased stability can be very rewarding.
Turn 5: Turn 5, on the map, doesn’t look too important. However, it leads onto a short straightaway that is capped by the very sharp Turn 7 “Hairpin”. It is important to maximize the top speed down this straight both for lap time and to gain an advantage in braking for the Turn 7. The braking zone for Turn 5, which occurs very shortly after the brief exit of Turn 4, can be very slippery, especially late in the day. If a car enters the Turn 5 braking zone with any instability (see above regarding a big pitch exiting Turn 4) it will likely be very sideways by the apex. The grip is better closer to the apex, as there is a large amount of sealer in the middle of the track. It is very common to see heavier sedans keep almost to the extreme inside the whole way around Turn 5 to avoid the darker asphalt. The line to the apex depends heavily on car type and limitations there within. It is rare that a car takes a very wide entry and truly late apex. The apex is very soft for such a short corner and the exit is bending right, making an apparent early apex the correct line. The difference between a slightly early apex and one that appears suicidal comes down to how well a car can roll apex speed or apply max power. Cars that benefit from a more “park it and power it” strategy will do better with an over-slowing of the apex, clipping it a touch earlier, and applying maximum power as early as possible. Cars that can roll speed across the apex will see better times by turning in very gradually, possibly even from mid-track, apexing early, and getting a head start on reaching top speed down the short straight away. The exit curb seems to have been set on top of quick sand, and has sunken into the Earth at different rates along its length. Due to this, it can be very unsettling to a car that is applying big power. Lighter, apex-speed cars can often use the curb, keeping in mind that it is not straight, and it is easy to drop a wheel. A wheel that falls off the outside of this curb too many times per outing will soon resemble a square more than a circle. Conservatism on curb usage can be rewarding in lap-to-lap consistency.
Turn 7: The “Hairpin” is one of the more iconic corners at Sebring. It is, essentially, a very tight, bumpy, rubbered-up chicane lead to and leading to two competitive straights. The key to Turn 7 is the drive out, not as much the braking in. The braking zone is very bumpy. Years of sealer and tar have created a mix of surface types against the left side of the track. Late in the day, it is not uncommon to see drivers braking right in the middle of the track to avoid the very slick patches. Turn in is late but not aggressive. Heavier cars will like more time to change direction after heavy braking, so a more gradual turn-in is often beneficial. Managing the quick brake release on turn-in and balancing weight on the nose of the car is the big challenge on entry. It is very easy to over- or under-load the front tires and miss the apex. The curbs are perfectly flat, if a bit slippery at times. They are fair game even for the lowest of race cars. Power should happen early, and as “all at once” as possible. Rotation doesn’t occur very early in the corner, since the corner is very short. This means some rotation needs to happen at or after the apex. It can be difficult to balance rotation with wheelspin. Any of the latter will result in drastically increased lap times. The exit is very tight since the track bends back to the right slightly at the track-out curb. Tires can land on the left side curb, but the dirt directly to the outside is slick at best, and often has been replaced with a wheel-shaped hole. Accuracy in car placement is very important.
Turn 8, 9: The Fangio Straight as many people will call Turn 8 and Turn 9, as the name implies, is treated less like a series of corners than most track maps seem to show. Only in the wet, or with 1000hp, does Turn 8 start to feel like an actual corner, for most drivers. The line can be straightened out, and the bend in the track does mean that passing cars can be made to work for their position trying to sneak alongside by Turn 10.
Turn 10: This is a very slippery, very misleading corner. The braking zone has a couple notable ridges in it, that can hurt late braking. The turn-in point is closer than it seems, and this corner can be treated more like an apex-speed turn. Many drivers will try to park at the apex and roll to power, which isn’t wrong. However, drive from Turn 10 through Turn 11 can be poor, so a better strategy is often carrying speed through. As with many corners around Sebring, Turn 10 exits into the apex of another corner. This edge of the track that juts out into the exit path is the true limiting factor. Pushing a little too hard out to the truncated track-out point can require a very aggressive toss of the wheel to get the car pointed in for Turn 11. Care should be taken to avoid inducing a flick to oversteer, especially with high-powered, heavy cars.
Turn 11: Essentially a double-apex corner, the goal here is usually minimizing distance while holding full power, or as close to it as possible. The car is leaned over the entire duration of the corner, so the outside rear tire is always the one to lose. To open up the corner a bit, increase the radius, but also increase track distance, there is a very wide patch of concrete to the outside which can be used. Use of this extra track width is made difficult only by a need to pull the car back to the left to setup for Turn 12 and Turn 13.
Turn 12, 13: This complex has some of the only real elevation change around the track– and it is only a foot or two. The entry to Turn 12 can be tricky, especially for cars that need to brake early enough that the chassis is still recovering from exiting Turn 11. The track falls away in two directions toward the end of the braking zone and just after turn-in for Turn 13. It drops off slightly downhill and de-cambers. This camber change in the road is worse further out from the apex. This presents a reason to turn in a bit earlier and keep the car from venturing out onto the worse parts of the track. Turn 13 is something between an apex-speed and a park-and-power-out corner. All cars will benefit from both carrying speed in by braking late and around the bend in Turn 12, and all cars will benefit from being nice and stable to roll to good power off. The balance is up to the driver. The exit can be challenging. The exit curb is wider than most around the course, but is bumpy and doesn’t have a lot of traction. The dirt past the curb is both slippery and prone to turning into a large hole. The best, safest bet is to avoid placing more than half a tire on the curb. While it can get lost on a track map, this corner is definitely a key to unlocking lap time.
Turn 14: Another iconic corner of Sebring, Turn 14 is a very fast, balls to the wall, flat (if at all possible), double apex corner. There are no arguments about it among the racing community, this is an apex-speed corner. The only tricky part is settling the car before braking for Turn 15. Because of this, the first apex is taken flat out, after which the car is usually let to slide a bit wide, toward the middle of the track or even further. The second apex, however, is taken relatively late, so that the car can be as straight as possible before the brakes are applied. The curbing through Turn 14 is usually flat enough that most cars can handle jumping them. That said, cars that are more reliant on downforce are going to avoid them more to keep the splitter or front wing as level as possible. If any corner benefits aero advantage, it is Turn 14.
Turn 15: Another one of the few corners with much of any elevation change. Just after braking and turn-in, the track has a small rise in it. Because it is following such a high-speed corner, the braking force is relatively high. This rubbers the track substantially, offering very little grip in higher temperatures and late in the day. The crest of the small hill is about at the apex. Power-down too early will often result in understeer, followed by oversteer once the front tires catch up. Many drivers get tricked into pushing all the way to the outside curb at exit. This is temping, but often makes it difficult to get the car pointed back to the left to properly setup for Turn 16.
Turn 16: This can be one of the most important corners on the race track, and a big way to improve lap time. The setup, the sacrifice of Turn 15, is a prime way to better the time through Turn 16. Similar to Turn 11, the trade off is between track distance and radius. Throw away the exit of Turn 15, get the car extreme left of the track, and point it early back to the right, carry massive speed through the corner. Keep it tight, power through Turn 15 a bit more aggressively, begin rotation early, but following a tighter curve, park it, power out. The choice is up the driver and will be based on where the car has an advantage. This section of track is back on the old runway of the air field, is very bumpy, and is old concrete. Traction is very low. The apex curb is surprisingly steep, but can be used. Drivers should be careful, however, of falling off the inside of the curb, as it is a steep drop and can both unsettle and damage a car. Fast drivers, comfortable drivers, spot the exit point early. The Turn 16 exit curb is the widest on the track, and all of it is usable. If spotted early, a car can be accurately driven from the apex curb to the very edge of the exit curb. The mistake to make, here, is over-driving the car at the apex. As the track is low on grip, any understeer felt at the apex will certainly be there at the apex, unless it has swapped to power-oversteer. Driving under the limit at the apex can improve sector times dramatically, especially if it translates to a stable power-down and better exit speed.
Turn 17: Arguably the bumpiest corner on the track, it can be either a driver’s favorite turn or absolute nemesis. It caps the longest and highest speed straight on the course, and the braking zone usually occurs after the gradual turn-in. To avoid pitching it into the corner, most drivers keep close to the right side wall, but let the car run wide, but not so far out that lesser-used concrete is under the car. This Kuiper Belt of Turn 17 has nothing but debris and pieces of Porsche left over since the 1960s. It is very good to avoid it. There are two trains of thought as far as the apex of Turn 17 are concerned. Some drivers try to tuck close to the wall, induce some understeer with over-speeding and maybe some throttle, and tackle the very large jump while maintaining a traditional line. Others will avoid the large bump at the apex by staying a car width or so out. The only way to know which way works, is to try both. Regardless of how the bump is tackled, the wheel must be unwinding by the time the car meets it. Post apex is all about confidence. Ideally, the car should free up with maybe very mild oversteer just after the jump at apex. This should make managing distance to the outside wall easier. There are a few more “whoops” before the track-out point, but as long as steering angle is minimized, they are merely and inconvenience. Hammer down, trust it, lose the left side mirror on the incredibly dangerous protruding track-out wall.